Github Integration Setup
In order to setup Github submission, you will first need to create a Github Application and get its corresponding Client ID and Client Secrets. After that, you only need to update the .env file with the information. The full steps are given in the following sections.
Creating your Github Application
-
Navigate to the Github developer settings in order to create a new OAuth app
-
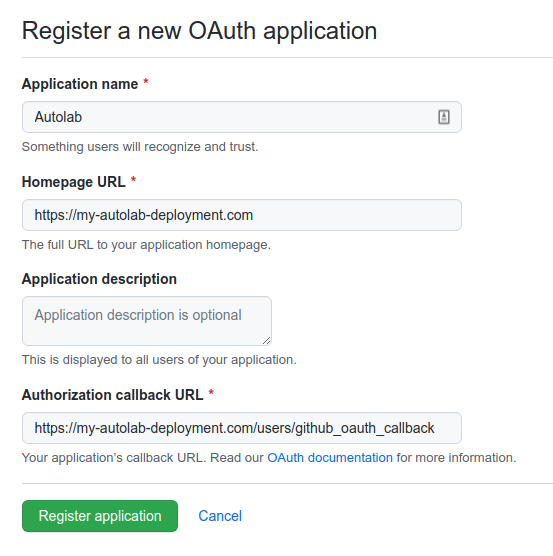
Fill in the required form fields:
- Homepage URL should be the URL that Autolab will be served on (i.e
https://my-autolab-deployment.com). - Authorization callback URL is the URL that Github will make a callback to after authentication, which must be the homepage URL appended with
/users/github_oauth_callback(i.e [https://my-autolab-deployment.com/users/github_oauth_callback) - Application name and description should be something helpful to allow students to trust the OAuth application (i.e
CMU Autolab)
An example:
- Homepage URL should be the URL that Autolab will be served on (i.e
-
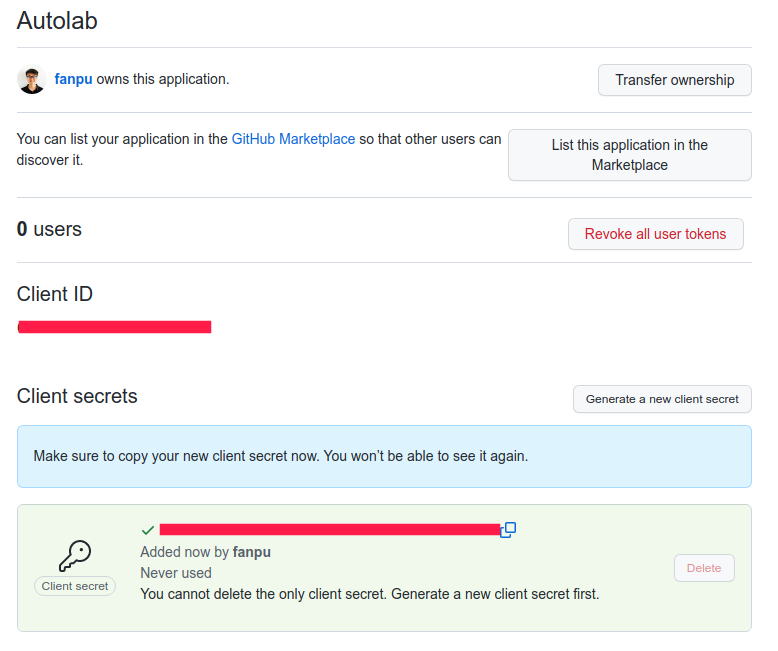
After registering the application, you will now have a Client ID for your application. Create a Client Secret for the Client ID, you should see something like the following:
Configuring Github Integration for Autolab
-
Ensure that you already have the Github application credentials set up based on the previous section
-
On Autolab, navigate to
Manage Autolab > Configure Autolab > Github Integration -
Enter your Github Client ID and Client Secret into the corresponding fields and click
Save -
Under
Github Integration Status, you should now seeAutolab is connected to Github!